01
Tool development
From product DFM and parting/gate strategy to tool manufacture. Confirm critical appearance surfaces and dimensions first.
Stable plastic part designs where lifecycle demand can justify tooling and scheduled production batches.
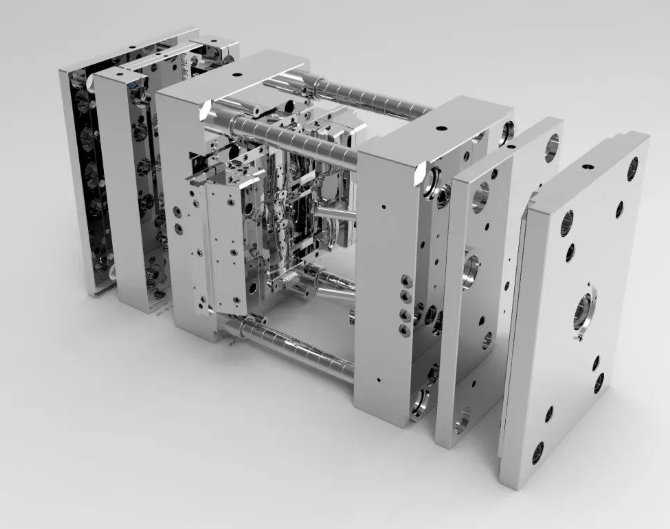
Consider: tooling cost, draft and shrinkage
Fills a mold with molten material and cools it
From product DFM and parting/gate strategy to tool manufacture. Confirm critical appearance surfaces and dimensions first.
Use samples, measurements and molding issues to refine the plan. Approve samples and revision before scheduling subsequent batches.
Produce with the approved material and process, adding trimming, printing, assembly and inspection as agreed.
Tooling, trials, cavity count, cycle time and revisions
Evaluate specific ABS, PC, PP, PA or POM grades for shrinkage, flow, temperature and flame requirements. Rely on material data and validation for performance.
Browse materialsEvaluate texture, polish and gate marks with the tool design. Confirm printing, painting or assembly separately from as-molded appearance requirements.
Explore surface finishingStart with the operating environment, then balance strength, weight, temperature, appearance and assembly. Confirm grade, availability and treatment with engineering.
Submit drawings for reviewConsider: tooling cost, draft and shrinkage
Draft, wall transitions, gates, parting lines and undercuts affect tool design. Revisions may require tool modification or replacement.
Confirm drawing revisions, file names and change records to avoid mixing old and new designs.
Identify mating faces, datums, holes and tolerances instead of applying the tightest tolerance everywhere.
Specify cosmetic faces, colors or reference samples, including masking and protection.
Agree inspection scope, reports, packaging and staged delivery before ordering.
There is no universal quantity crossover or guaranteed tolerance for a process. Feasibility, pricing and lead time depend on drawing review and the confirmed quote.
Stable plastic part designs where lifecycle demand can justify tooling and scheduled production batches.
Organize production and inspection around the confirmed drawing revision and requirements.
Upload 3D models and necessary 2D drawings. Specify quantity, material, tolerance, finish and target delivery.
Review manufacturability, critical dimensions and inspection requirements. Discuss complex needs with engineering.
Manufacture to the confirmed revision and check parts against the agreed inspection requirements.
Use feedback to refine the design or reorder. Confirm changes to revisions, quantities and delivery dates.
You can start a conversation with incomplete information. Manufacturing commitments must be confirmed before production.
Not sure about material, process or finish? Share drawings and operating conditions to give the engineering review a clear starting point.
Manufacturing process guide3D models and necessary 2D drawings; Material grade and quantity; Critical dimensions, tolerances and finish; Use case, inspection needs and target delivery. You can start a conversation with incomplete information. Manufacturing commitments must be confirmed before production.
Evaluate specific ABS, PC, PP, PA or POM grades for shrinkage, flow, temperature and flame requirements. Rely on material data and validation for performance. Evaluate texture, polish and gate marks with the tool design. Confirm printing, painting or assembly separately from as-molded appearance requirements.
Draft, wall transitions, gates, parting lines and undercuts affect tool design. Revisions may require tool modification or replacement.
Tooling, trials, cavity count, cycle time and revisions. There is no universal quantity crossover or guaranteed tolerance for a process. Feasibility, pricing and lead time depend on drawing review and the confirmed quote.
Bring your design and requirements. Make manufacturing part of your next product decision.