One Master Pattern: Why It Can Reproduce Dozens of Appearance Parts
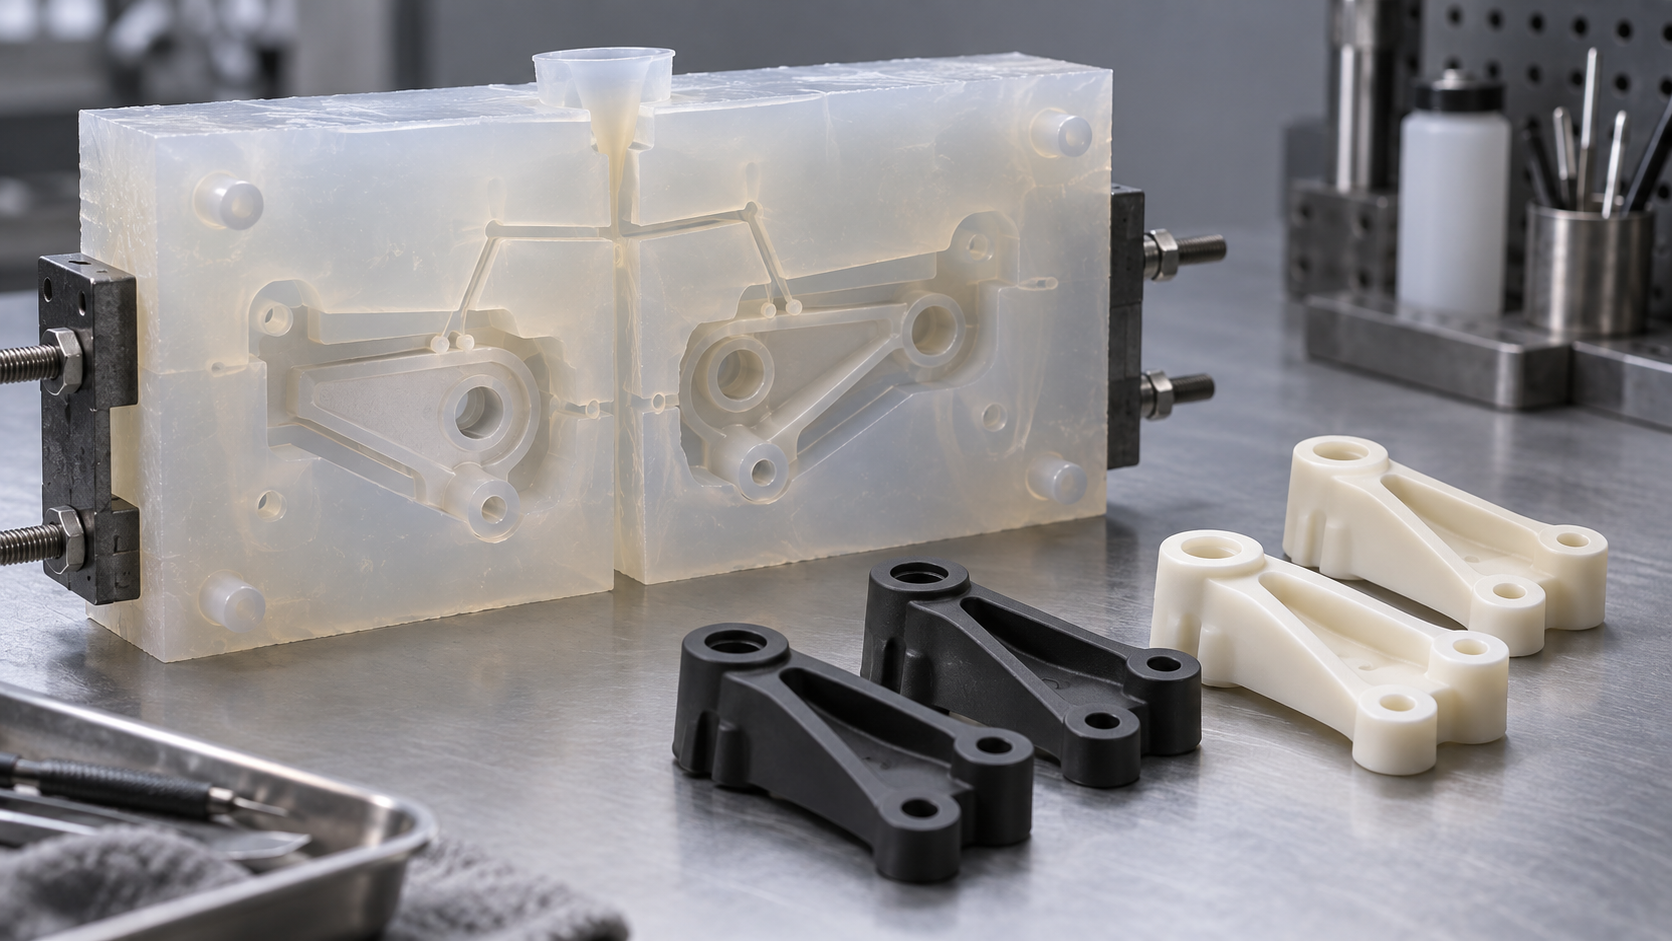
The customer already has a master pattern produced by CNC machining or 3D printing, and the structure has passed validation. Next, they need dozens of sample parts whose appearance and feel approach production parts—for assembly validation, customer samples, or low-volume trial sales. At this point, cutting an injection molding steel mold is not cost-effective, and direct 3D printing cannot meet the surface and texture requirements. Vacuum casting (prototype duplication) falls into this range: a silicone mold encases the master pattern, and then polyurethane or a similar resin is poured under vacuum conditions, copying the master pattern's surface topography, texture, and dimensional features onto every duplicated part.
What it copies is the master pattern's surface and topography, not the master pattern's material. Whatever is on the master pattern will be on the duplicated part: polishing marks, tool marks, layer lines, and parting lines will all be faithfully reproduced by the silicone mold. Therefore, the upper limit of this process is almost set the moment the master pattern is finished. The silicone mold itself is elastic and can accommodate certain undercuts and slight insufficient draft, but this is not a get-out-of-jail-free card—insufficient draft or the wrong parting choice will still tear or deform the duplicated part.
In terms of positioning, it sits between rapid prototyping and injection molding: closer to production parts in appearance and feel than 3D printing, and more flexible and better suited to low-volume trial production in the dozens-of-parts range than injection molding. Understanding this gives the later process chain and defect logic a place to stand.
Process Chain: Six Steps from Master Pattern to Duplicated Part
The core logic of vacuum casting (prototype duplication) is using a silicone mold to duplicate the master pattern. The entire chain can be broken down into six steps, each with a corresponding DFM decision point. Cut corners at any step, and the defects will be amplified in subsequent steps.
Master Pattern Preparation and Surface Treatment
The master pattern usually comes from a CNC-machined part or a 3D-printed part. First inspect the surface: insufficiently polished tool marks and layer lines will be faithfully reproduced by the silicone onto every duplicated part. Then perform cleaning and release treatment, and confirm the draft direction—if the master pattern has undercuts or vertical walls, the silicone is prone to tearing when the mold is opened, and the duplicated part will also be pulled out of shape. This step determines the surface upper limit of the duplicated part.
Parting and Gate Design
The parting line should fall on a non-appearance surface or an edge, avoiding crossing a large flat surface. The same applies to gate location: facing a non-appearance surface allows the flow front to reach the appearance surface last, reducing flow marks and trapped air. A gate that is too small restricts feeding, while one that is too large leaves obvious marks during post-processing. Parting and gating are the two decisions most worth deliberating during the silicone mold stage.
Silicone Mold Pouring, Mold Opening, and Vacuum Casting
After the silicone is mixed in the specified ratio, it is poured to encase the master pattern. After curing, it is cut open and the pattern is removed, forming a soft mold cavity with a parting surface. Then resin is poured under vacuum: vacuum degassing removes air bubbles entrained during mixing and is the key action for reducing bubble defects. After pouring is complete, cure according to the material requirements, then demold, remove gates, trim, and surface treat.
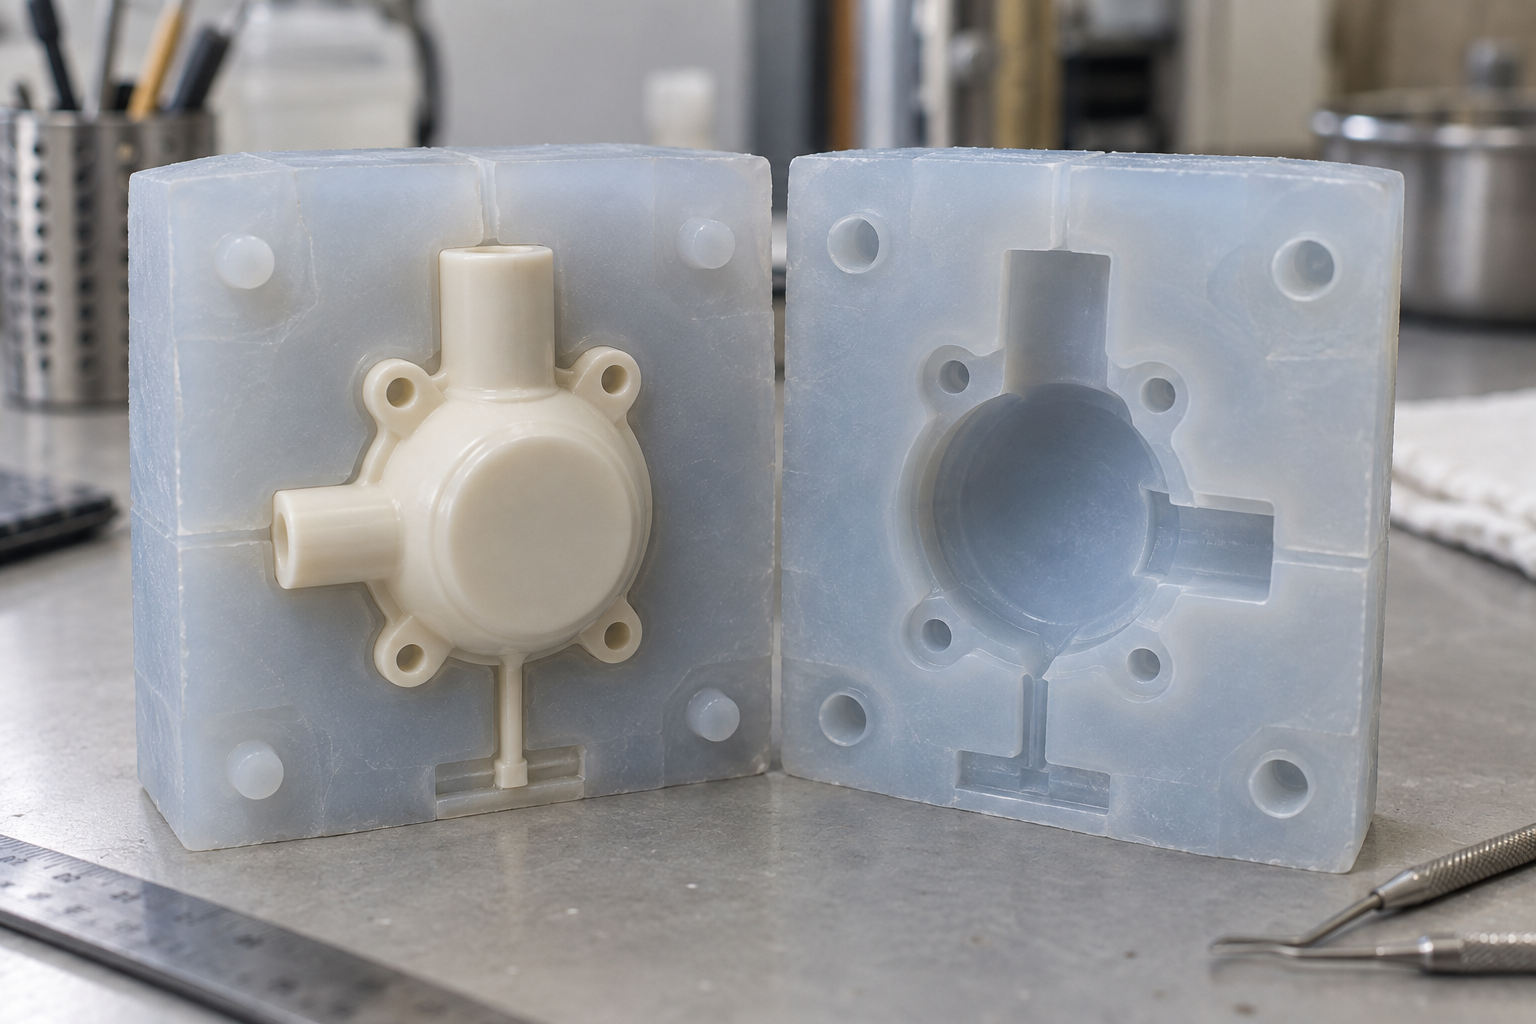
Only after all six steps are completed does a duplicated part come into being. What truly determines success is not the equipment, but the master pattern quality and the two upfront decisions of parting and gating—once they are set wrong, all subsequent operations can only be remedial.
The Master Pattern Sets the Upper Limit: Surface, Draft, and Parting
A vacuum-cast duplicated part is essentially a "replica" of the silicone mold cavity. And the silicone mold cavity is entirely determined by the master pattern. So there is a very simple conclusion: only when the master pattern is made well can the duplicated part be stable. Every tool mark, every polishing trace, and every parting line on the master pattern will appear as-is (or even amplified) on dozens of duplicated parts. Time saved at the master pattern stage is usually paid back double during post-processing.
How Surface Texture and Polishing Are Reproduced
Silicone conforms to the microscopic undulations of the master pattern surface, so the roughness of the master pattern is basically the roughness of the duplicated part. If you want a matte or leather-grain effect, the master pattern itself must be made with the corresponding texture; if you want a high-gloss surface, the master pattern needs to be polished finely enough, otherwise the duplicated part will appear "hazy and blotchy." Note that silicone also has a certain ability to replicate extremely fine polishing marks; scratches on the master pattern that are hard to see with the naked eye may become obvious on the duplicated part depending on the light angle. Therefore, for appearance surfaces it is usually recommended that the master pattern polishing direction be consistent, avoiding cross-sanding that leaves messy lines.
The Cost of Insufficient Draft: Tearing and Deformation
The silicone mold is an elastomer, and during demolding it relies on stretching to clear undercuts, but this does not mean vertical walls can be made at will. When draft is insufficient, demolding resistance concentrates locally, which easily causes silicone mold tearing or pulls the duplicated part out of shape or whitens it. Deep cavities, slender posts, and dense ribs are especially sensitive. In engineering, the master pattern is usually required to provide a reasonable draft angle in the demolding direction, and undercut structures must be evaluated for conversion to removable inserts or adjustment of the parting. Sharp corners on the master pattern should also be rounded, which both aids demolding and reduces stress concentration in the duplicated part.
Where the Parting Line Should Fall So It Does Not Damage the Appearance Surface
The parting line is the seam where the silicone mold closes and will inevitably leave a mark on the duplicated part. The principle is simple: place the parting line on a non-appearance surface, an edge, or a structural boundary. If the appearance surface is a continuous curved surface, the parting line should run along an edge or corner as much as possible, avoiding crossing a large flat surface. The parting position must be anticipated at the master pattern design stage, and if necessary, positioning steps or parting steps should be made on the master pattern to make mold closing more accurate and reduce flash. Once the parting is set wrong, later work can only rely on manual trimming, and consistency will drop noticeably.
Effect of Master Pattern Material on Duplicated Part Surface
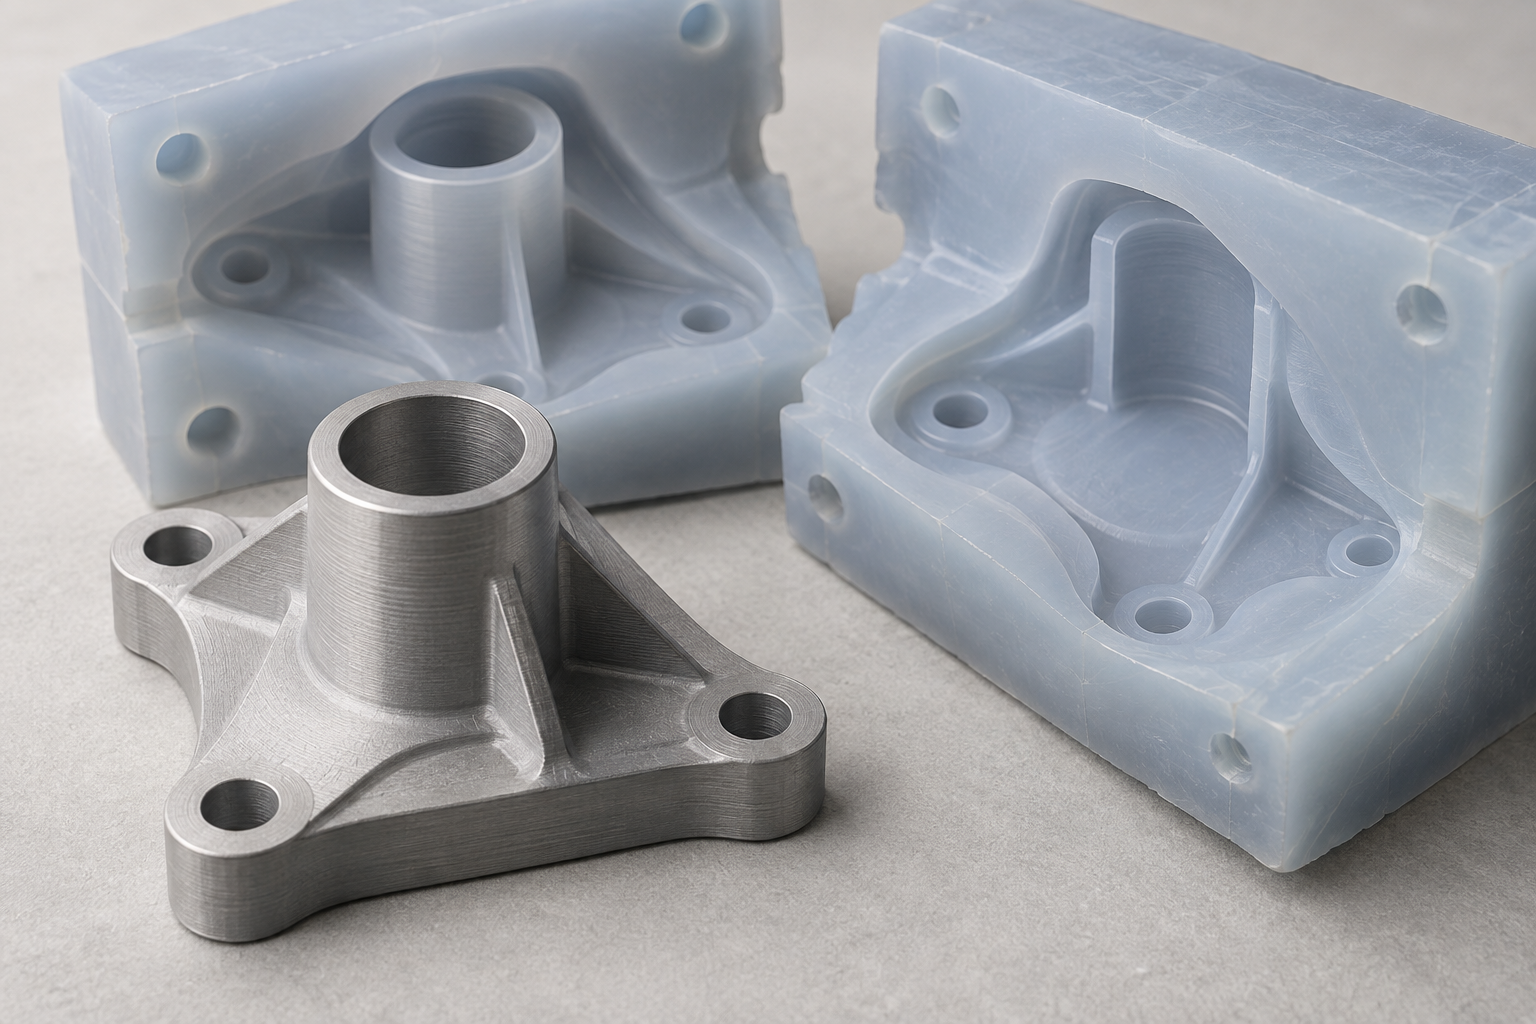
Common sources of master patterns are CNC machined parts or 3D printed parts. CNC master patterns have a dense surface and can be polished directly, making them suitable for duplicated parts with high appearance requirements; for 3D printed master patterns, pay attention to layer lines—layer lines will be reproduced by the silicone and usually require sanding, filling, or coating before mold duplication. Regardless of the type of master pattern, residual release agent and dust should be cleaned before duplication, otherwise these defects will also be copied. The dimensional stability of the master pattern is also important; deformation of the master pattern will be transmitted directly to the silicone mold cavity.
Defect Atlas: Bubbles, Sink Marks, Parting Lines, and Color Variation
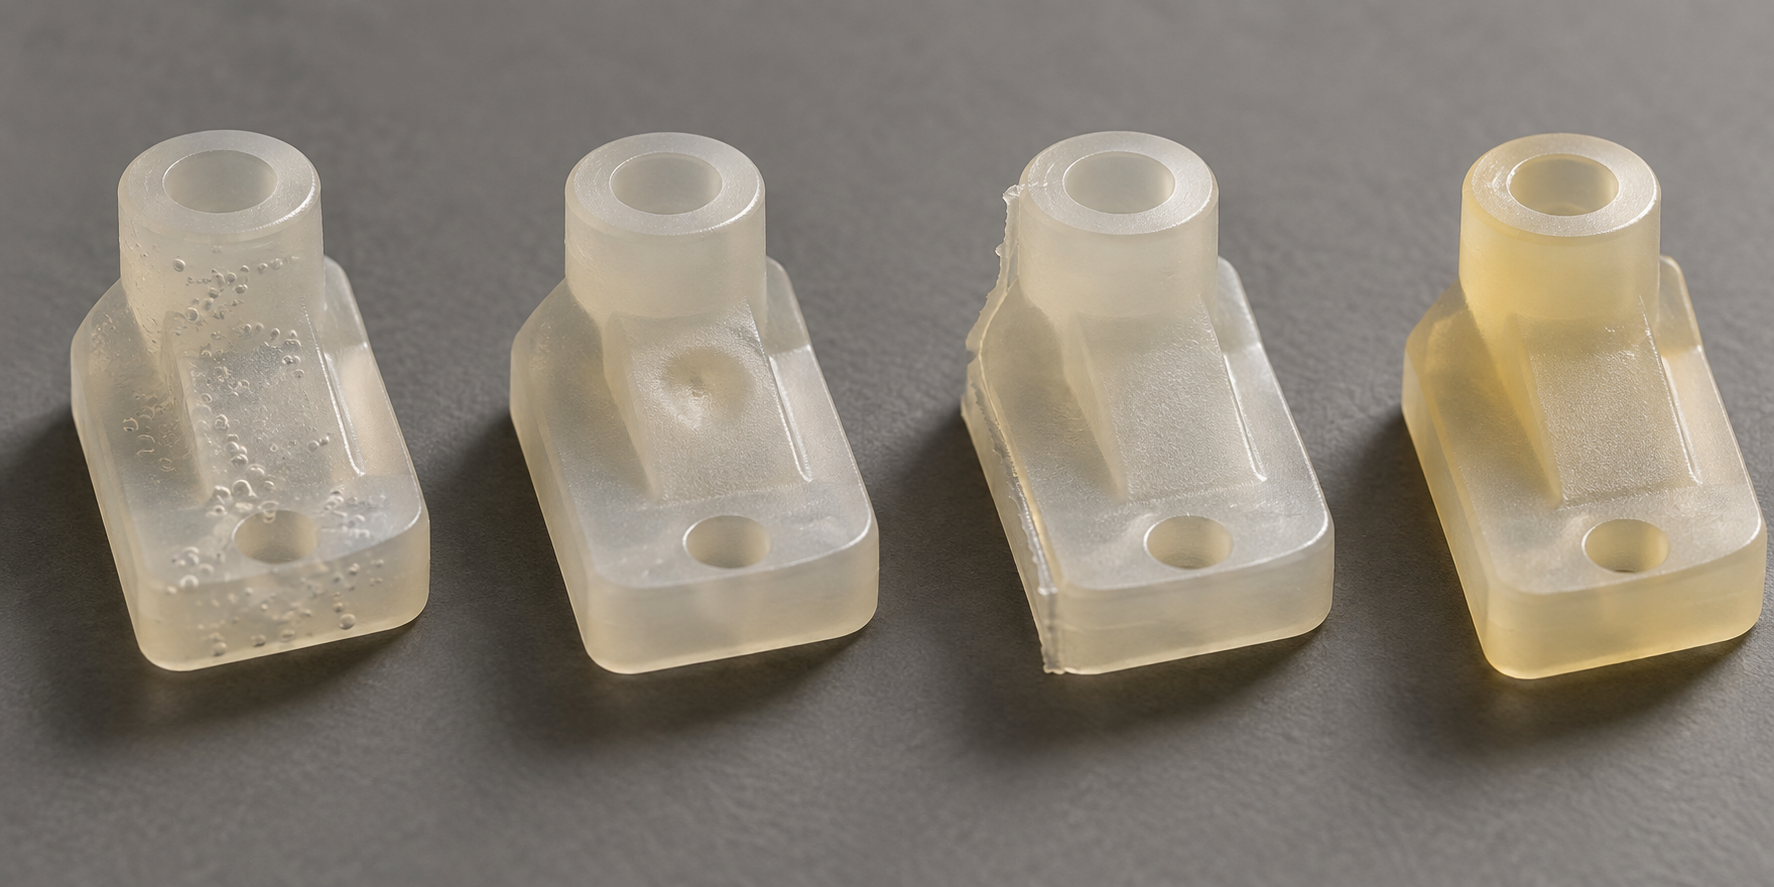
Defects in vacuum casting rarely appear at random; each one corresponds to a traceable link in the process chain. Breaking down high-frequency issues by "phenomenon—cause—countermeasure" is more useful than vaguely saying "pay attention to quality."
Bubbles: Degassing and Gate Orientation
Bubbles fall into two categories: one is bubbles not fully evacuated from within the resin, and the other is air entrained during pouring. The former depends on whether vacuum degassing before pouring the silicone mold is sufficient, and whether the resin is left to rest long enough after mixing; the latter is directly related to gate position and pouring speed. If the gate faces the cosmetic surface, bubbles and flow marks will remain directly in the visible area, so the gate is usually placed on a non-cosmetic surface or an edge that can be trimmed later. When venting channels in thick-wall areas are insufficiently designed, bubbles tend to accumulate in dead corners, so venting paths need to be reserved at the mold design stage.
Sink Marks: Wall Thickness and Feeding
Sink marks appear at abrupt changes in wall thickness—when a thick region cools and shrinks, the surface layer has already set, and internal shrinkage pulls the surface into a depression. The wall thickness of vacuum-cast replicas is usually determined by the master pattern, so controlling sink marks must start with master pattern design: keep wall thickness as uniform as possible, create gradual transitions between thick and thin regions, and avoid isolated thick blocks. Gate position should also place thick regions near the gate to facilitate feeding. If the master pattern itself has uneven wall thickness, the replica will almost certainly reproduce the sink marks, and this should be raised during the master pattern review stage.
Parting Lines and Color Variation
Parting lines are an inevitable product of the silicone mold's mating surface. Where they fall depends on the parting scheme: if they fall on an edge or non-cosmetic surface, the subsequent trimming is minimal; if they fall in the middle of a curved surface, trim marks are difficult to eliminate completely. Poor mating surface fit also produces flash, which needs to be trimmed one by one after demolding. Color variation mostly comes from batch differences and uneven mixing—the same batch of resin, the same mixing ratio, and the same curing conditions are the basic prerequisites for controlling color variation. For multiple replicas, it is recommended to pour from the same batch to avoid mixing different batches. If color consistency requirements are high, specify a color swatch or color code when ordering, and confirm the reproducible range with the process provider.
When to Choose It: Boundaries with CNC, 3D Printing, and Injection Molding
Vacuum casting's sweet spot is clear: a few to a few dozen pieces, requiring an appearance and feel close to production parts, and wanting to quickly switch between multiple materials using the same master pattern. It saves more post-processing time than a single CNC piece, has a surface closer to injection-molded parts than 3D printing, and has a much lower threshold than steel mold injection molding. When judging, ask three questions first: which quantity range it falls into, how high the cosmetic surface requirements are, and whether the material needs multiple rounds of trial formulation.
Quantity and Structural Complexity Determine Priority
For a single piece or parts with extremely complex structures, including internal channels and lightweight lattices, prioritize 3D printing, which eliminates the constraints of parting and draft. When quantities reach several dozen or more and material and appearance requirements are stable, the marginal cost of injection molding truly becomes advantageous. Vacuum casting sits in between: it replicates the morphology of the master pattern, so the master pattern itself can still be made by CNC or 3D printing.
Appearance, Feel, and Multi-Material Trial Production
When a project requires leather grain, matte finish, soft-touch feel, or needs to compare several resins and color codes on the same shape, the silicone mold for vacuum casting can be reused repeatedly, and material change costs are low. If the part is mainly load-bearing or precision-fitting, CNC's dimensional stability is more direct. A common combination in actual projects: CNC makes the master pattern and key fitting parts, vacuum casting produces appearance samples, and the two are validated in parallel.
Frequently Asked Questions (FAQ)
The following are the questions most commonly raised by procurement and engineering when evaluating vacuum casting (handboard duplication). The answers are based on process logic; specific values need to be confirmed in combination with the part and supplier capabilities.
What exactly is the difference between vacuum casting and injection molding?
Vacuum casting uses silicone molds and is suitable for small batches within a few dozen pieces, with low mold cost and short lead time, but replica performance is usually lower than injection-molded parts; injection molding uses steel molds and is suitable for large batches, with low unit cost and good consistency, but high mold investment. The choice depends on batch size and requirements for appearance and performance.
How many pieces can one silicone mold make?
Silicone mold life is affected by master pattern complexity, material, and operation, and typically can replicate a few dozen pieces; the specific number needs to be confirmed with the supplier. Beyond this range, the mold may wear and cause loss of detail, so injection molding should be evaluated.
Is the performance of replicas equivalent to injection-molded parts?
Usually not equivalent. After curing, vacuum casting materials generally have lower mechanical properties than the same type of injection molding materials, and there may be differences between batches. If the part has structural load-bearing or temperature resistance requirements, it is recommended to discuss material selection with engineering or switch to injection molding.
Can surface texture and polishing effects be replicated?
Silicone molds can replicate the master pattern's surface texture and polishing fairly well, but fine textures may diminish as the number of replications increases. The surface treatment quality of the master pattern directly determines the appearance of the replica, so it is recommended to make the master pattern according to the final appearance requirements.
How are vacuum-cast parts inspected and accepted?
Acceptance usually focuses on appearance (bubbles, sink marks, parting lines, color variation), dimensions, and assembly. It is recommended to clarify acceptance standards and sampling methods with the supplier before ordering, and to use 3D scanning for comparison when necessary.
Key takeaways
- The core asset of vacuum casting is the silicone mold, and the surface quality of the master pattern is copied almost one-to-one onto every duplicated part.
- Its economic range typically falls in the dozens-of-parts scale: too few and 3D printing is better, too many and steel-mold injection molding is better.
- Bubbles, sink marks, parting lines, and color differences are the four high-frequency defect categories, most of which can be prevented at the master pattern and gate design stage.
- Duplicated parts can achieve an appearance and feel close to injection-molded parts, but their mechanical properties and long-term consistency are not equivalent to mass-produced injection-molded parts.
- Before acceptance, first lock down the three items of appearance surfaces, assembly datums, and material feel, then discuss dimensions and batch consistency.



